How to Ship Plants: A Practical Guide
Are you a business or individual looking at shipping plants? Here's our ultimate guide to selecting the right courier and shipping green gifts safely.
By Francesca Nicasio — 10 January, 2022
Whether you have a business selling plants or are a plant lover sending green gifts to your loved ones, your priority is to identify the best way to get your plants to their destinations safe and sound. 🪴
Provided you master the process of prepping plants and packaging them properly, you can ship them safely by mail to any destination.
The horticulture industry is huge, with annual revenues amounting to $15 billion in the US alone. That’s why there is an existing, easy-to-navigate ecosystem for mailing plants, seeds, cut flowers, and house plants across the country.
In this article, we will show you how to ship plants, discuss the regulations applicable when shipping plants across state boundaries, and how to select the right shipping courier for your needs.
Prepping and packing plants safely for shipping
Getting your plant safely to its destination depends on careful preparation and packing of the item to ensure it remains undamaged and has enough water to survive the duration of the trip.
Below, we will show you a step-by-step process for preparing and packaging your plant safely for shipping:
1. Prep and remove the plant from the soil
Plants are generally best shipped with bare roots instead of in their pots. This means your preparation will start with getting your plant ready for removal.
Apply fresh water to the plant five to six hours before you start digging it out of the soil. Semi-dry soil is perfect for shipping plants.
When digging, dig a few inches away from the main stem of the plant so you don’t damage the roots. Put on your gardening gloves and gently remove the plant’s roots from the pot.
Next, gently loosen the soil around the plant’s roots and shake off the excess soil. Keep the exposed roots in a shaded area until you are ready to pack the plant for shipping.
2. Wrap the roots in moist paper
It’s best to wrap the plant in water-soaked paper because the paper will slowly release moisture to the plant en route to its destination.
Soak four or five sheets of newspaper in a bowl of water until the papers are wet but not sopping. If the trip is expected to be quite long, soak two teaspoons of polymer moisture crystals in water to make a slurry and add it to the roots of the plant.
Fold the newspapers in half and place the dug-up plant sideways on it with the roots and stem in the center of the paper. Adjust the foliage to position it outside the edge of the newspaper. If you don’t do this, the plant will rot during shipment.
Roll the paper gently around the roots and stem while keeping the foliage sticking out of the rolled newspaper. Use a compostable sticker or a custom hangtag made from recycled card stock to label the plant sustainably.
Fold the newspaper bottom into the roll to serve as a base for the roots and stem inside. Then, place the rolled-up newspaper with a folded bottom upright inside a plastic bag or preferably, an eco-friendly alternative.
Wrap the bag loosely around the plant while still keeping the foliage outside the bag. You shouldn’t close the top of the bag because air and moisture must get to the roots to keep them alive.
Get three to four more bags and wrap them around the entire plant to cushion it. Wrap each bag loosely around the entire plant with each facing the opposite way to the one before it.
3. Place the plant in a sturdy box
You need a box that is sturdy enough to protect your plant and withstand being kicked, thrown, and dropped during transit. Corrugated boxes are the best choice for mailing plants. They’re eco-friendly, easy to pack, sturdy, and save shipping costs.
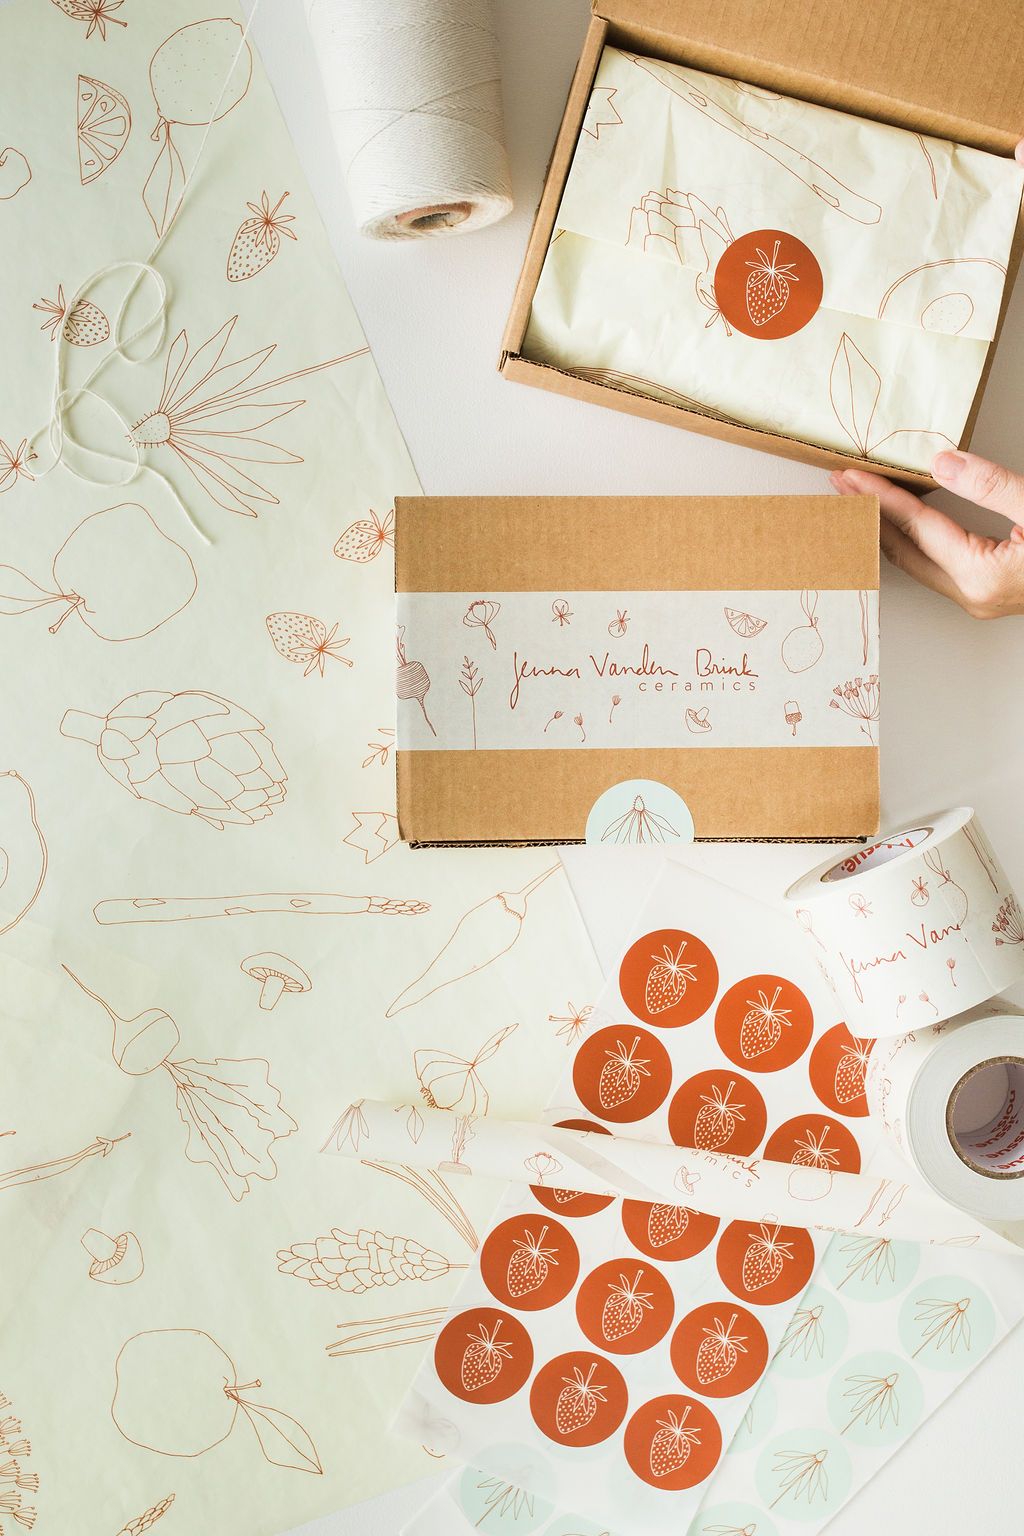
If you are in the business of selling plants, you can get custom plant shipping boxes from noissue that are designed specifically for the type of plants you ship regularly. Also, if you ship multiple small plants, use partitioned corrugated boxes to keep all the items in one box.

When placing the wrapped plant inside the cardboard box, gently squeeze out the excess air from the bag, and place it in a similarly-sized box. The box should be of a size that is barely big enough to fit the plant inside to help limit movements while the package is inside the shipping carton.
Movement can cause plant stems and leaves to break. Use cable ties or bands to secure the floral arrangements or foliage to the box to prevent movement during shipment. If there is extra room in the box, use shredded tissue paper, newspaper, or foam to fill any pockets.
4. Seal the box with strong packing tape
Close the lid of the corrugated cardboard box and tape all the seams and edges with strong packing tape. It’s better to use the H tape method to ensure adequate protection for the package and its contents.
💡 Pro tip: The H tape method means applying tape to seal the box's opened seams. This will make an H-like shape across the top and bottom of your box.
If you are concerned that the box may be roughly handled, reinforce the edges of the box with strapping tape.
5. Add proper shipping and handling labels
Make sure to include the name of the plant you are shipping so that the handler can recognize the plant and understand how to care for it. You should also consider using custom compostable stickers for your boxes that say “live plant” and “perishable.”
This lets shippers know that the package must be treated gently and delivered as soon as possible.
Shipping guidelines also require that you add a standard shipping label with basic information including the shipping address, the courier code, and your return address. Also, avoid using a paper shipping label that might absorb the moisture in the package and negate its purpose.
It’s important that a dug-out plant is packaged and shipped as soon as possible. Mail your plant at the beginning of the week to ensure it won’t be left at the shipping center over the weekend.
You should also avoid sending a live plant during periods when shipping may be slow such as national holidays or heavy mailing events like Mother’s Day.
Pay attention to the local weather of the area you are shipping to. If the recipient’s location is experiencing extreme weather, wait before you mail the plant. You could lose the plant if it’s stuck in a truck under extremely hot weather or if it freezes up when left at the recipient’s doorstep during final delivery.
Shipping potted plants
You may also opt to avoid uprooting your plant and instead choose to ship the pot with your plant. This helps to ensure that the plant is well-protected but it also increases the cost of shipping.
To ship a potted plant, get a plastic flower pot from a nursery or home improvement store that won’t break during transit. Transplant the item to the flower pot and water it thoroughly the day before it ix shipped to keep the soil moist.
Wrap the pot in a newspaper and also wrap burlap around the plant’s foliage. Place the wrapped pot in a plastic bag and tie the handles of the bag around the plant’s stem. If the plant has more than one stem, place paper over the soil, and secure it to the pot.
If the recipients’ local temperatures are low, you can use bubble wrap around the package to ensure that it survives exposure to cold.
Place the plant inside the box and use a corrugated divider to separate the flower pot from the flowers (with the pot at the bottom). Place the plant upright if possible and mark “This End Up” outside the box. To cushion the flower vase inside the box, use bubble paper or packing peanuts to fill any remaining space.
Seal the box with packing tape and add the appropriate labels. You should never ship potted plants with water since it may leak during transit and damage other products.
Essential materials for shipping plants
To properly follow the process outlined above, you will need the following tools and materials:
- Gardening gloves
- Lightweight plastic pots
- Sterilized potting soil
- Wrapping paper or newspaper
- Plastic or eco-friendly bag
- Ties or rubber bands
- Bubble wrap
- Paper towels.
Regulations related to shipping live plants

Although shipping plants over long distances in the US doesn’t require any special equipment, there are laws and limitations you need to keep in mind. These regulations are applicable when you are shipping plants to another state or shipping plants internationally.
Shipping plants domestically
Most plants can be shipped within the United States provided mailing them is not prohibited by the USDA (United States Department of Agriculture). You need to check the USDA database to see the guidelines around the import of plants in each state.
These guidelines will differ from state to state. Each state’s department of agriculture considers the impact of imported plants on the local vegetation and how such plants could bring harmful diseases, insects, or pest infestation to the state.
Rules apply to soil type, plant type, and pest-free certifications. Most states require that imported plants must have been grown indoors in sterilized potting soils. There are also states with stricter rules in place which may require that certain plants be subject to quarantine.
States like California, Hawaii, and Florida are particularly known for rigid regulations around the shipping of plants. For example, California bans the import of citrus plants because of the threat of infestation by pests like the gypsy moth.
To find out more about the applicable rules in the home state of the recipient, check the National Plant Board website which contains information on relevant laws in each state.
Shipping plants internationally
The first thing you need to obtain before you can ship plants internationally from the United States is a phytosanitary certificate. A plant health certificate is issued by the department of horticulture or agriculture of the destination country and it certifies that your shipment has been treated to be free of harmful pests and plant diseases.
You will need the appropriate customs forms and declarations, and you must also follow all the other applicable regulations and restrictions of the destination country.
Countries have these regulations in place to prevent the introduction of harmful pests, diseases, and environmentally damaging invasive species. Check with the relevant government agency or authority of the destination country about any applicable rules and restrictions to avoid a scenario where your package is not allowed to enter the country.
Best courier options for shipping plants
You will need fast shipping when mailing perishable items like plants, flowers, or plant cuttings. The longer your plant is copped up in transit without light and water, the less will be its chances of surviving the trip.
You can ship plants using any of the major carriers including USPS, FedEx, and UPS. Other plant shipping service companies also exist, but we will focus only on the best options from these three major carriers.
Shipping plants with USPS
We recommend the following:
- Priority Mail: Flat rate box starts at $7 for 1lb or less, and arrives within 1 working day.
- Priority Mail Express: Rates start at $20 for 1lb or less, and arrives within 2 working days.
- Flat Rate Priority Mail: Rates start around $12 for 1lb or less, and arrives within 1-3 working days.
Shipping plants with FedEx
We recommend the following:
- FedEx Overnight: Rates start at $64 for 1lb or less, and it arrives by 8 am.
- FedEx Priority Overnight: Rates start at $30 for 1lb or less, and arrives by 10 am.
- FedEx Standard Overnight: Rates start at $30 and arrives by 3 pm.
- FedEx Ground: Rates start at $9 and arrives within one working day.
Shipping plants with UPS
We recommend the following:
- Next Day Air: Rates start at $28 for 1lb or less and it arrives by 10:30 am.
- UPS Ground: Rates start at $14 and arrives at the end of the next day.
Wrapping it up
Shipping perishable items like plants requires a lot of planning and a firm grasp of the relevant regulations (both local and international). Follow the steps mentioned above to prepare and package your plants safely for shipping in full compliance with all applicable laws and restrictions. Good luck!
If you need custom, sustainable materials for wrapping, packaging, and shipping your plants, check out noissue’s range of small business-friendly shipping products.
📫 More From Our How to Ship Series
How to Ship a Package: A Guide for Ecommerce Merchants
How to Ship a Candle: A Step-by-Step Guide
How to Ship Clothes